There are many ways to do latte art and many styles of patterns. However the core of the skills outlined in this post is the basis and foundation of every pattern you’ll ever want to do. By understanding and mastering these skills you'll be on your way to becoming a coffee professional ... or legendary home barista!
1. Pointer thumb anchor style


And if you’re left handed you will need to hold the base of the cup and spin it around so the handle faces away from your chest. This way you will pour the pattern adjacent to the handle, which will be perfectly positioned for your guest. And remember keep your fingers away from the rim. We always hand the cup to guests with the handle on the right side and the spoon on the top the saucer.

By having a set routine you start to create a repeatable process and within a short amount of time it should yield the results you are looking for. First watch this video a few times, then read the steps below. In particular watch the positioning of the jug to the cup at the start, middle and end of the pour. https://youtu.be/-rjeB3KX8TU
Watch the video again and keep these three things in mind.
Holding the milk jug
Here are some ways to hold the milk jug that I’ve had success with training hundreds of baristas over 20 years. These positions will aid you in controlling the milk and making patterns. I use style 3!1. Pointer thumb anchor style

2. Thumb style

3. Writing pen style

How to hold the cup
Right handed
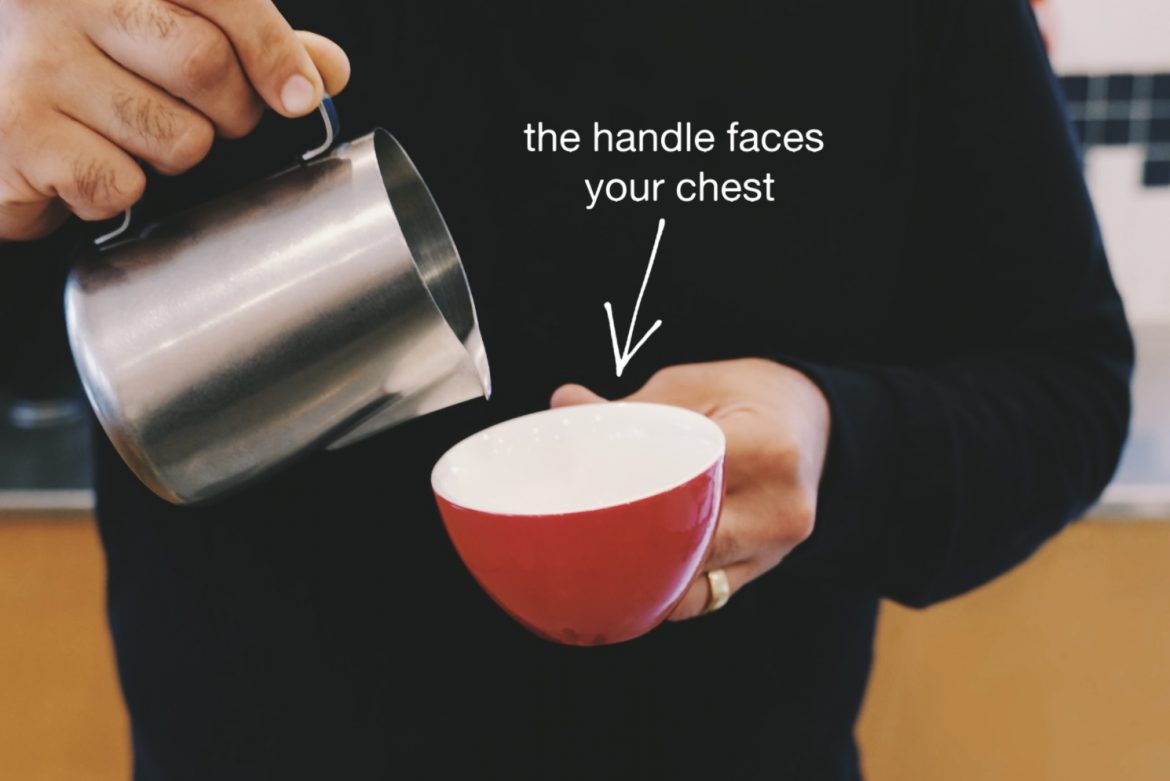
If you're right handed and pour the milk with your right hand, you will need to hold the coffee cup in your left hand by the handle. Make sure the handle faces your chest so when you pour the art it will be correctly positioned when handed to your guest. We have a saying at White Horse, “handles are for holding!” This helps us avoid touching any area where someone will drink from. It's a level of professionalism we love and think every cup should be treated with this care.


Left handed
And if you’re left handed you will need to hold the base of the cup and spin it around so the handle faces away from your chest. This way you will pour the pattern adjacent to the handle, which will be perfectly positioned for your guest. And remember keep your fingers away from the rim. We always hand the cup to guests with the handle on the right side and the spoon on the top the saucer.
The Method
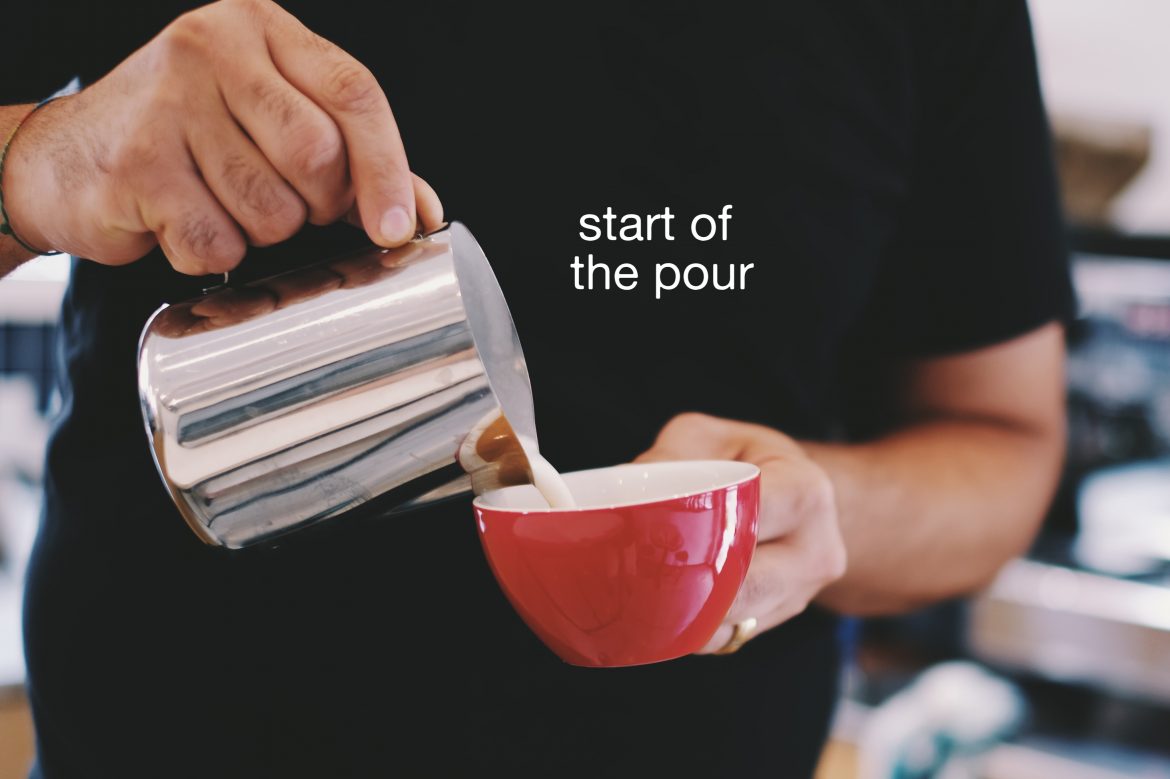
By having a set routine you start to create a repeatable process and within a short amount of time it should yield the results you are looking for. First watch this video a few times, then read the steps below. In particular watch the positioning of the jug to the cup at the start, middle and end of the pour. https://youtu.be/-rjeB3KX8TUStart of the pour
Angle the cup toward the jug with the spout of jug close to the crema. Pour in the centre in a circular forward and back motion. Like tiny figure 8 symbols. Make sure you keep the spout close to the coffee at the beginning and the pouring speed is fractionally slower than normal so you don’t disturb the crema and introduce white foam to the design. At this stage you want the crema to be completely brown with no white spots.


Middle of the pour
If any white appears, pull away from the cup with the milk jug and increase the height of the pour. Pouring the milk over any white spots will ensure your prized crema stays evenly coloured with no white marks. The speed of pouring throughout the middle section increases quite rapidly to combine the milk and coffee seamlessly and to make a shiny aesthetic and silky mouthfeel.


End of the pour
This is where we start to create the pattern. When the cup is half to three quarters full, return the spout of the jug close to the coffee, even resting the side of the jug against the cup. Always keep the pour in the centre section of the cup. At the end be sure to slow the pour speed right down to help keep the pattern sharp and defined. Some baristas like to angle the cup during the pour, so if you did that remember to straighten the cup as it becomes full.


In shorthand
Watch the video again and keep these three things in mind.
- Start: pour close with the spout and slow pouring speed
- Middle: lift spout away from cup and increase pouring speed
- End: pour close with the spout and slow pouring speed to avoid spills

Leave a comment